Complete Installation Guide for Residential Water Meter Housings
Step-by-step instructions for properly installing 15mm-25mm water meter housings in residential properties, including tools required and common pitfalls to avoid.
Read More →Technical guides, installation tips, and industry insights
Step-by-step instructions for properly installing 15mm-25mm water meter housings in residential properties, including tools required and common pitfalls to avoid.
Read More →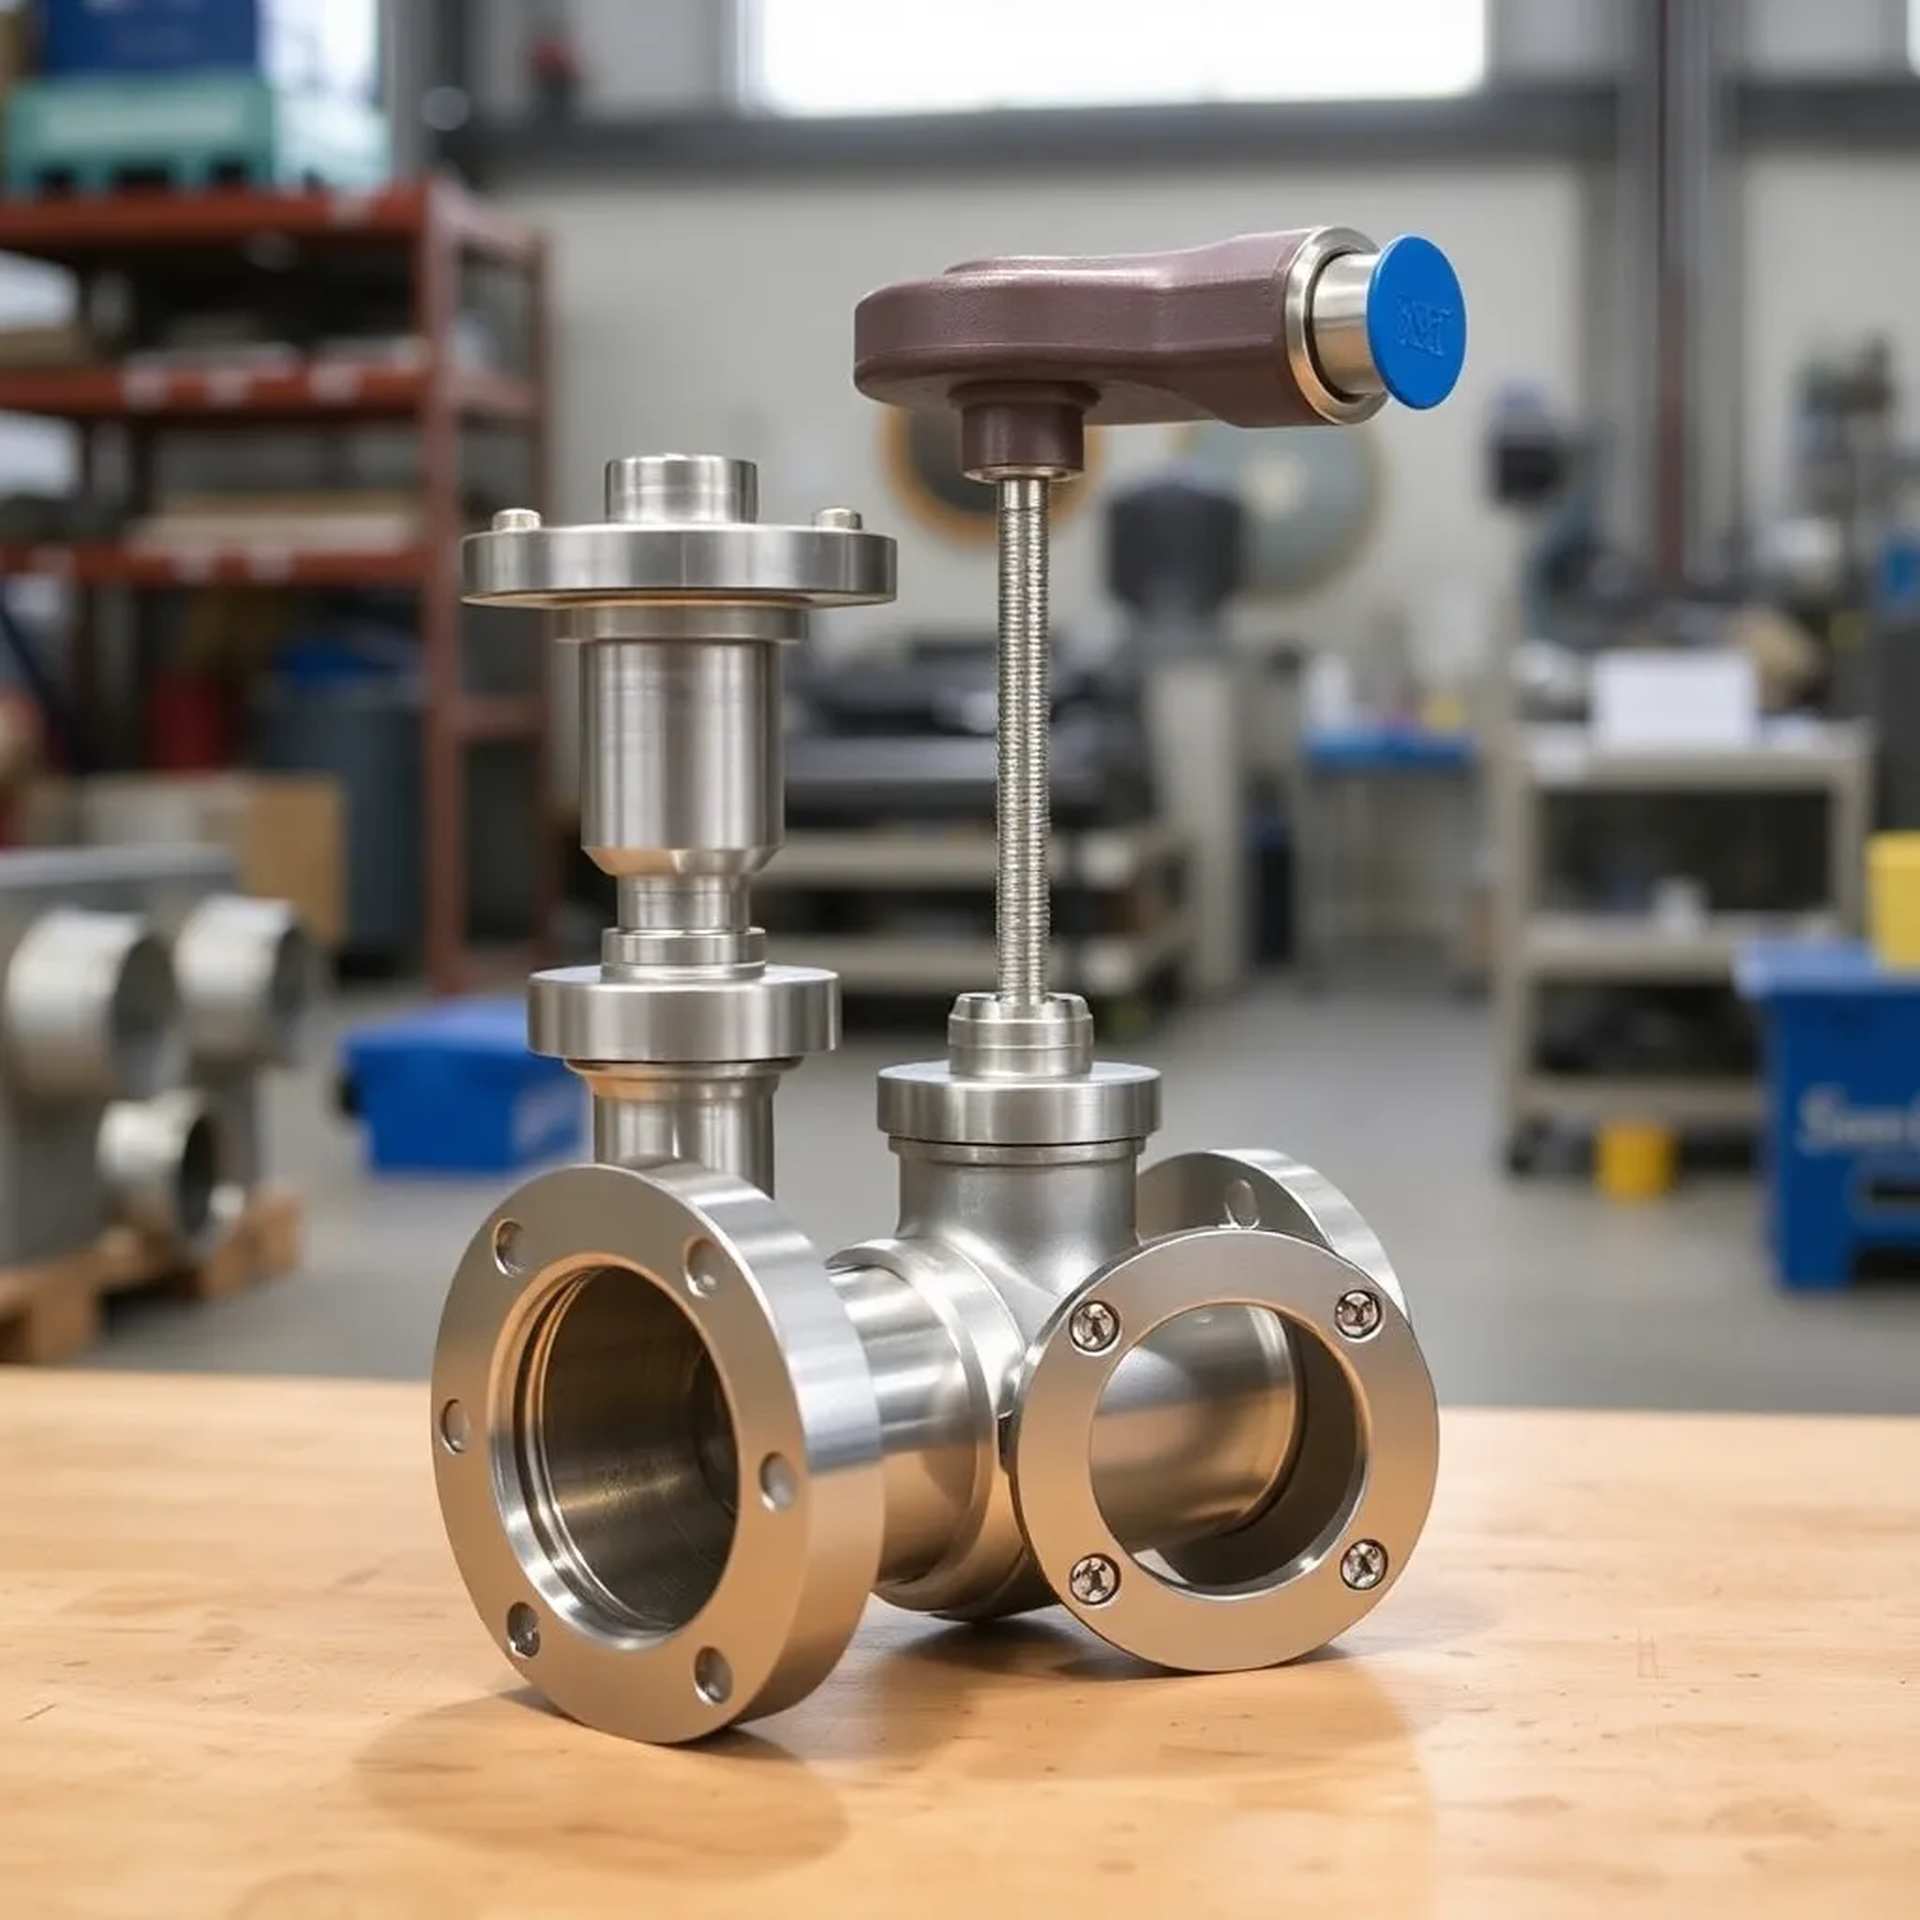
Learn how to extend the lifespan of your water meter housings through proper maintenance routines and early detection of potential issues.
Read More →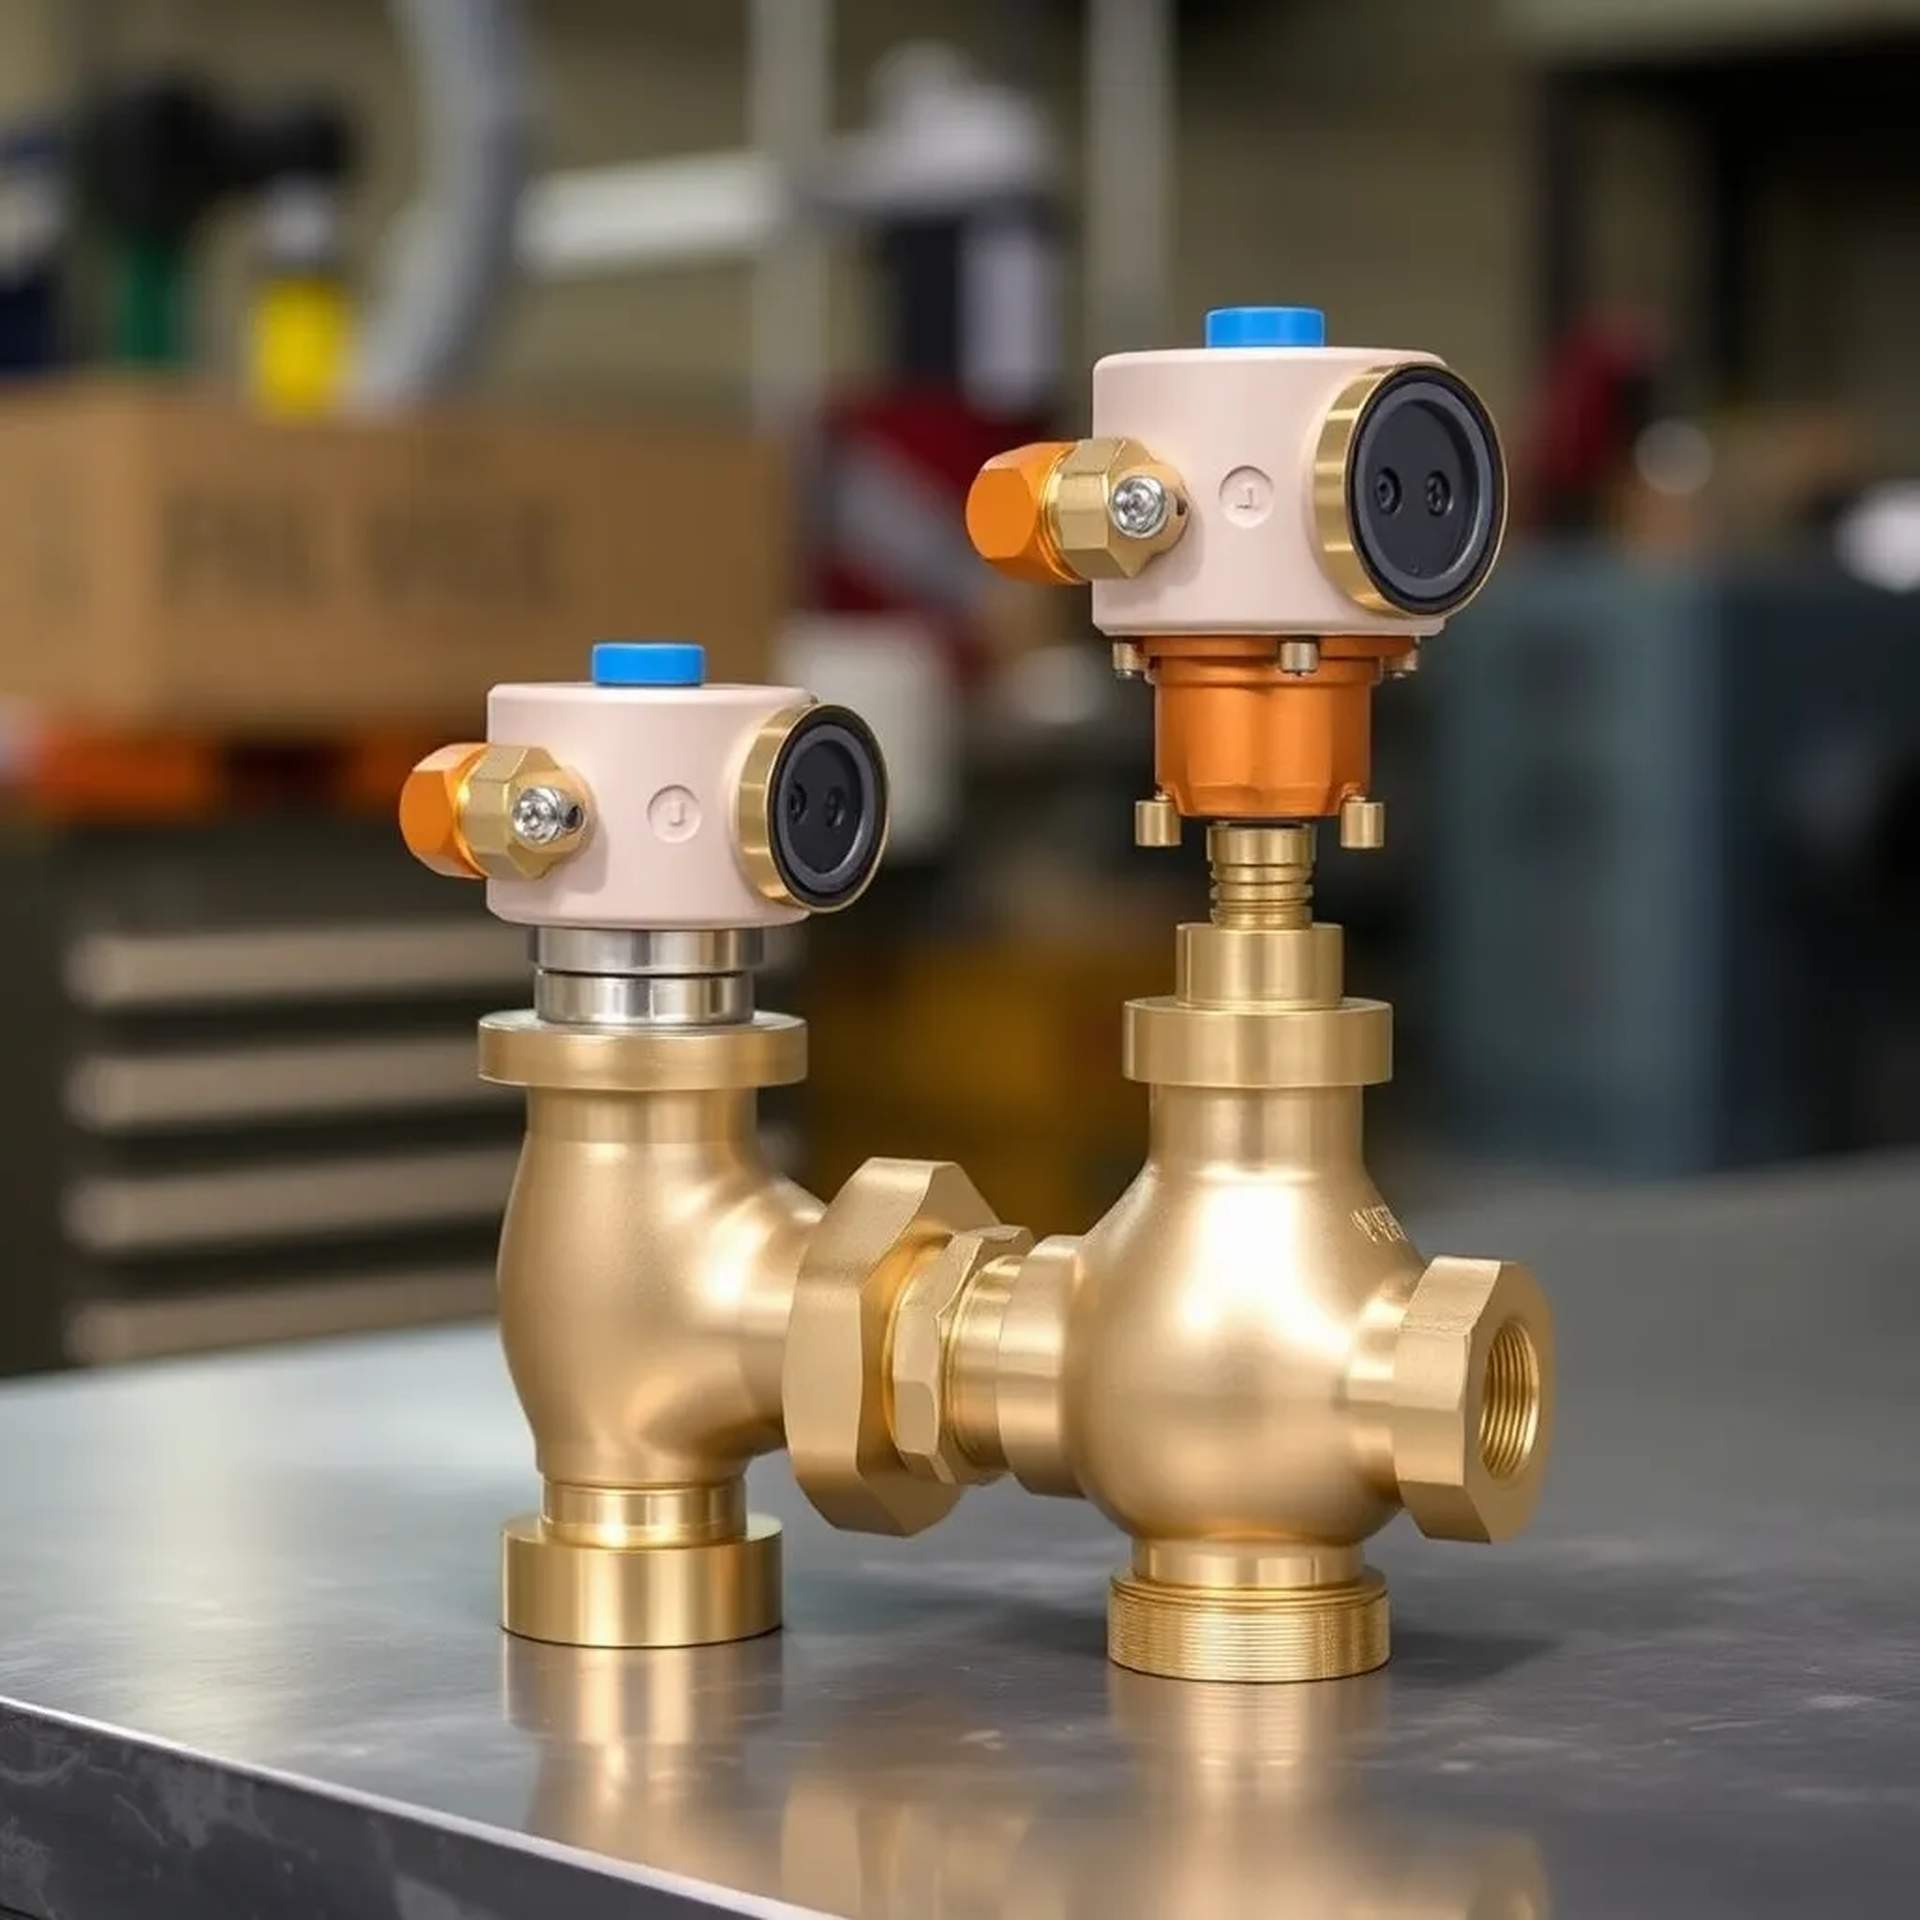
An in-depth comparison of brass and reinforced polymer housings, covering durability, cost-effectiveness, and ideal applications for each material.
Read More →
Overview of updated MS 1314:2025 standards and what they mean for water meter housing manufacturers and installers in Malaysia.
Read More →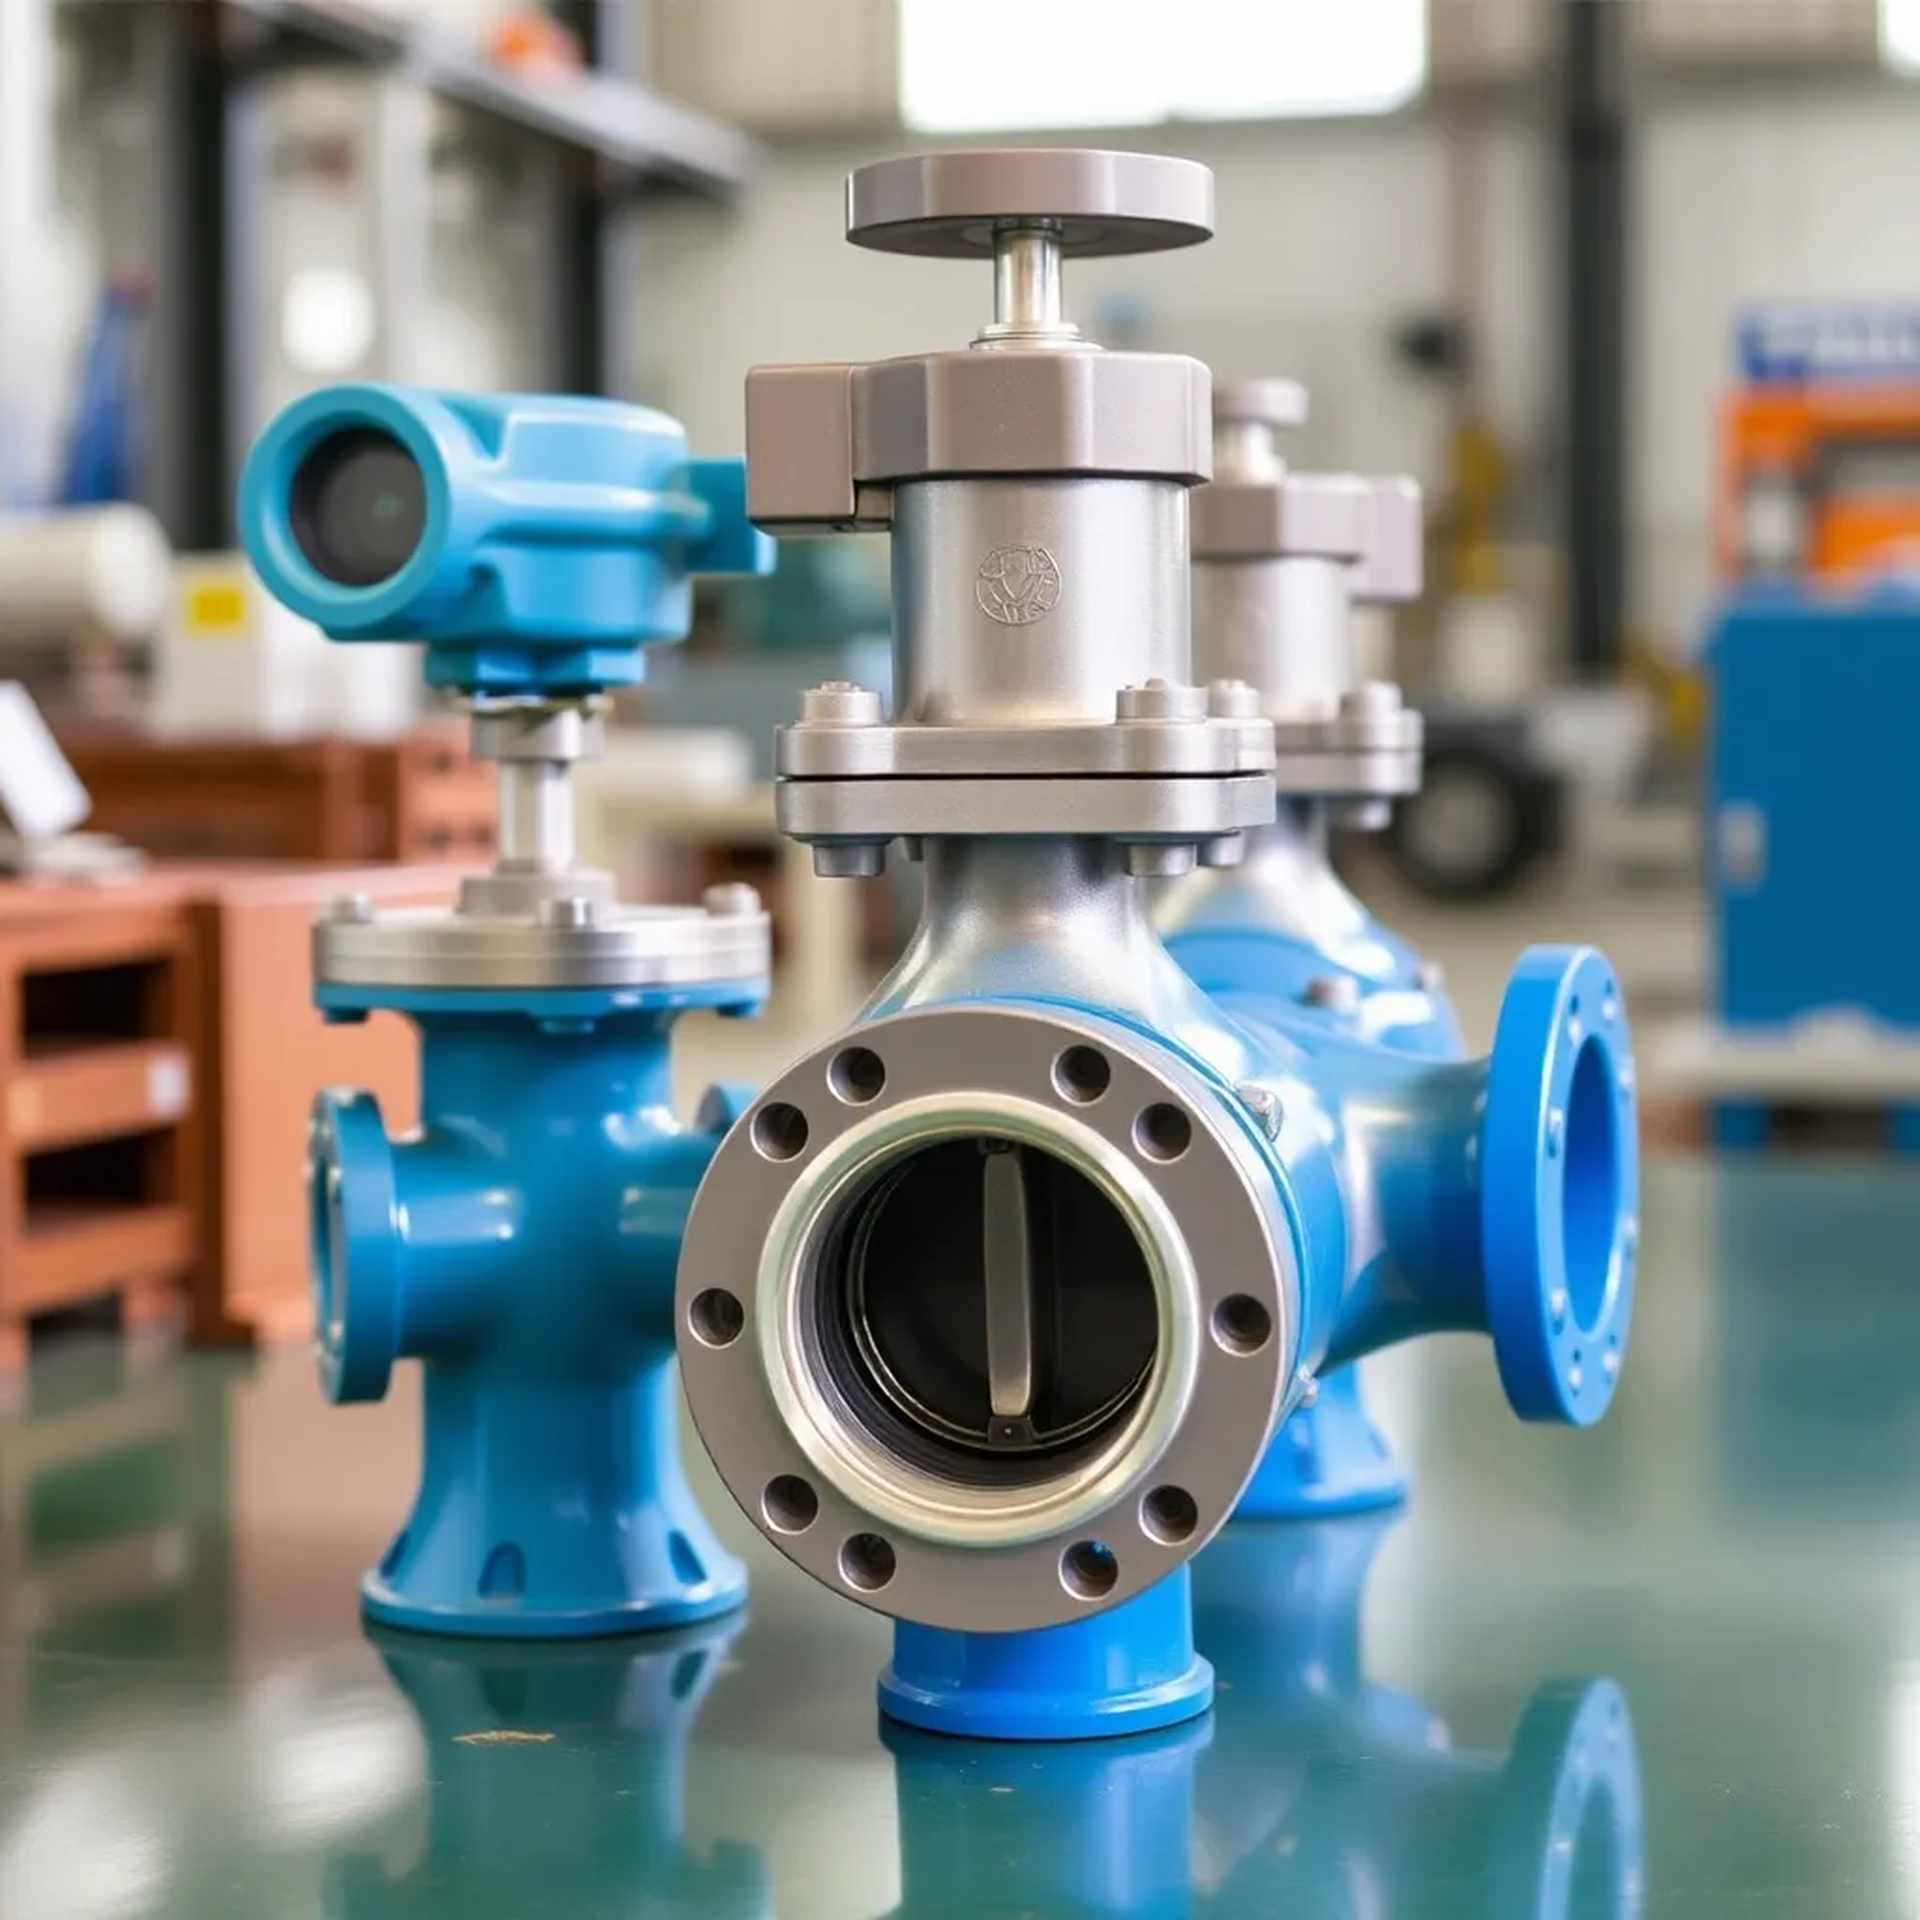
Professional installation techniques for 40mm-100mm commercial housings, including pressure testing and compliance requirements.
Read More →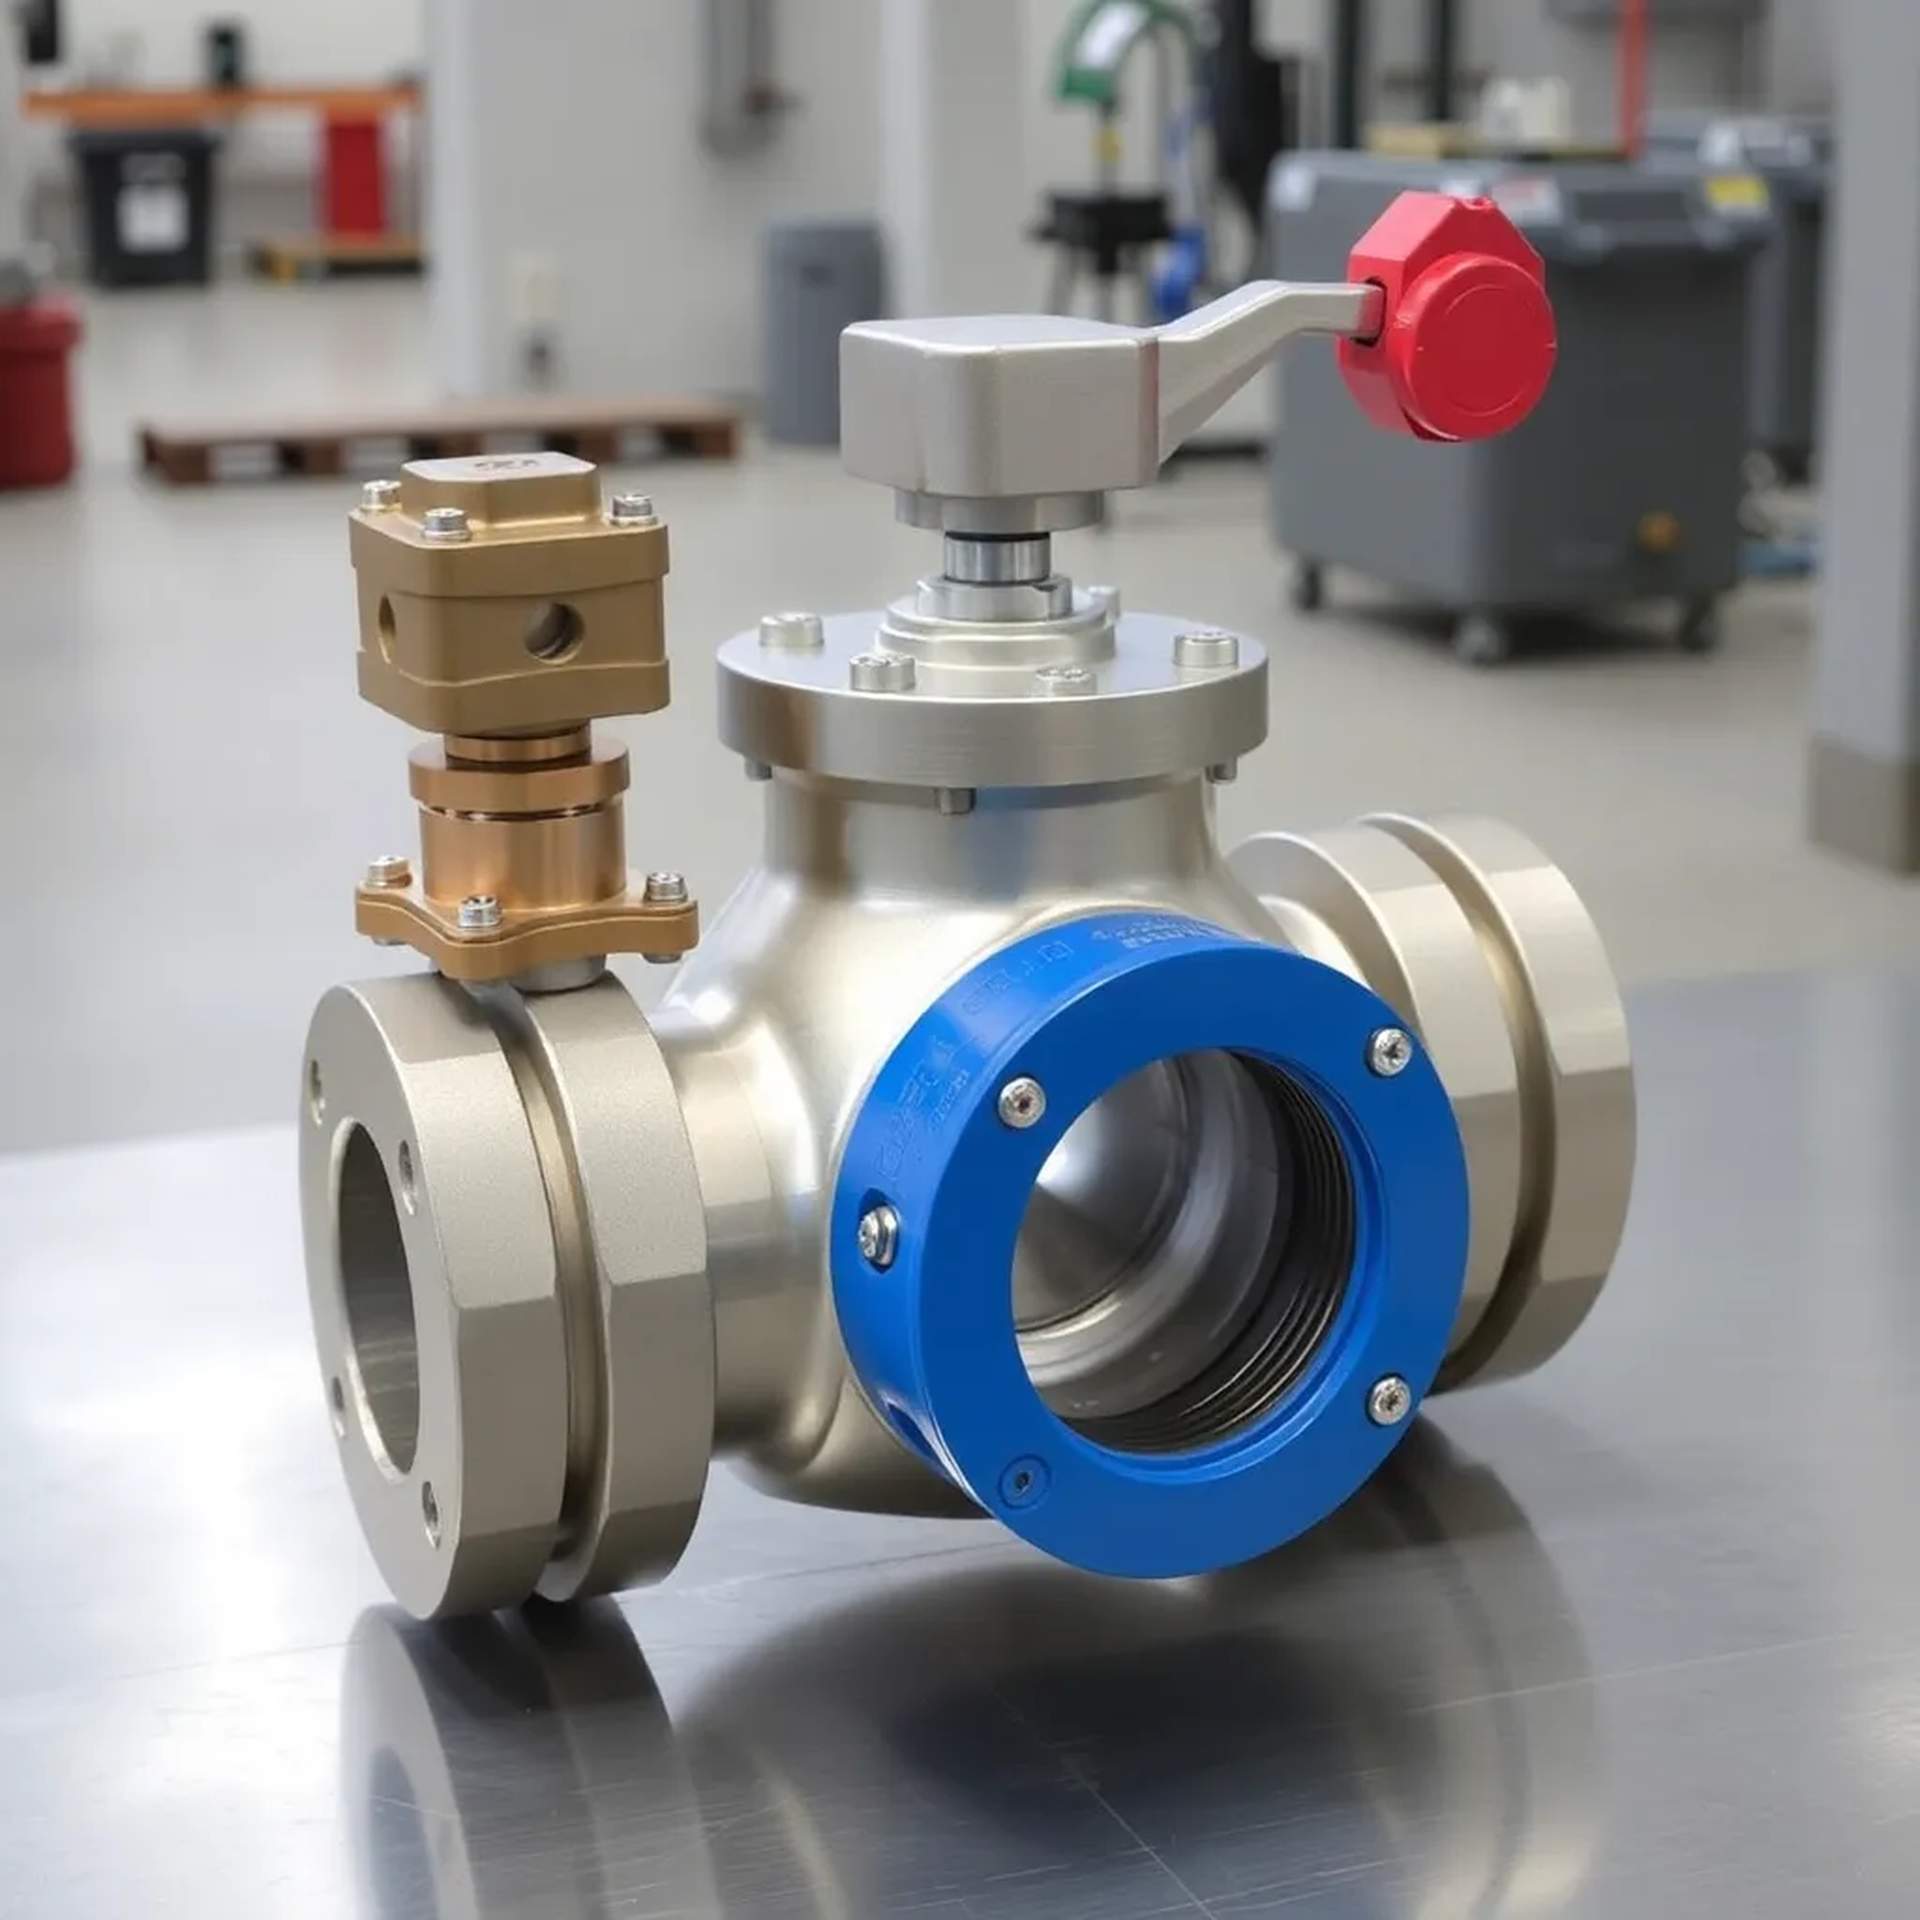
Technical guide to selecting the correct housing based on operating pressure and temperature requirements for your specific application.
Read More →Published: January 15, 2025 | Category: Installation Guides
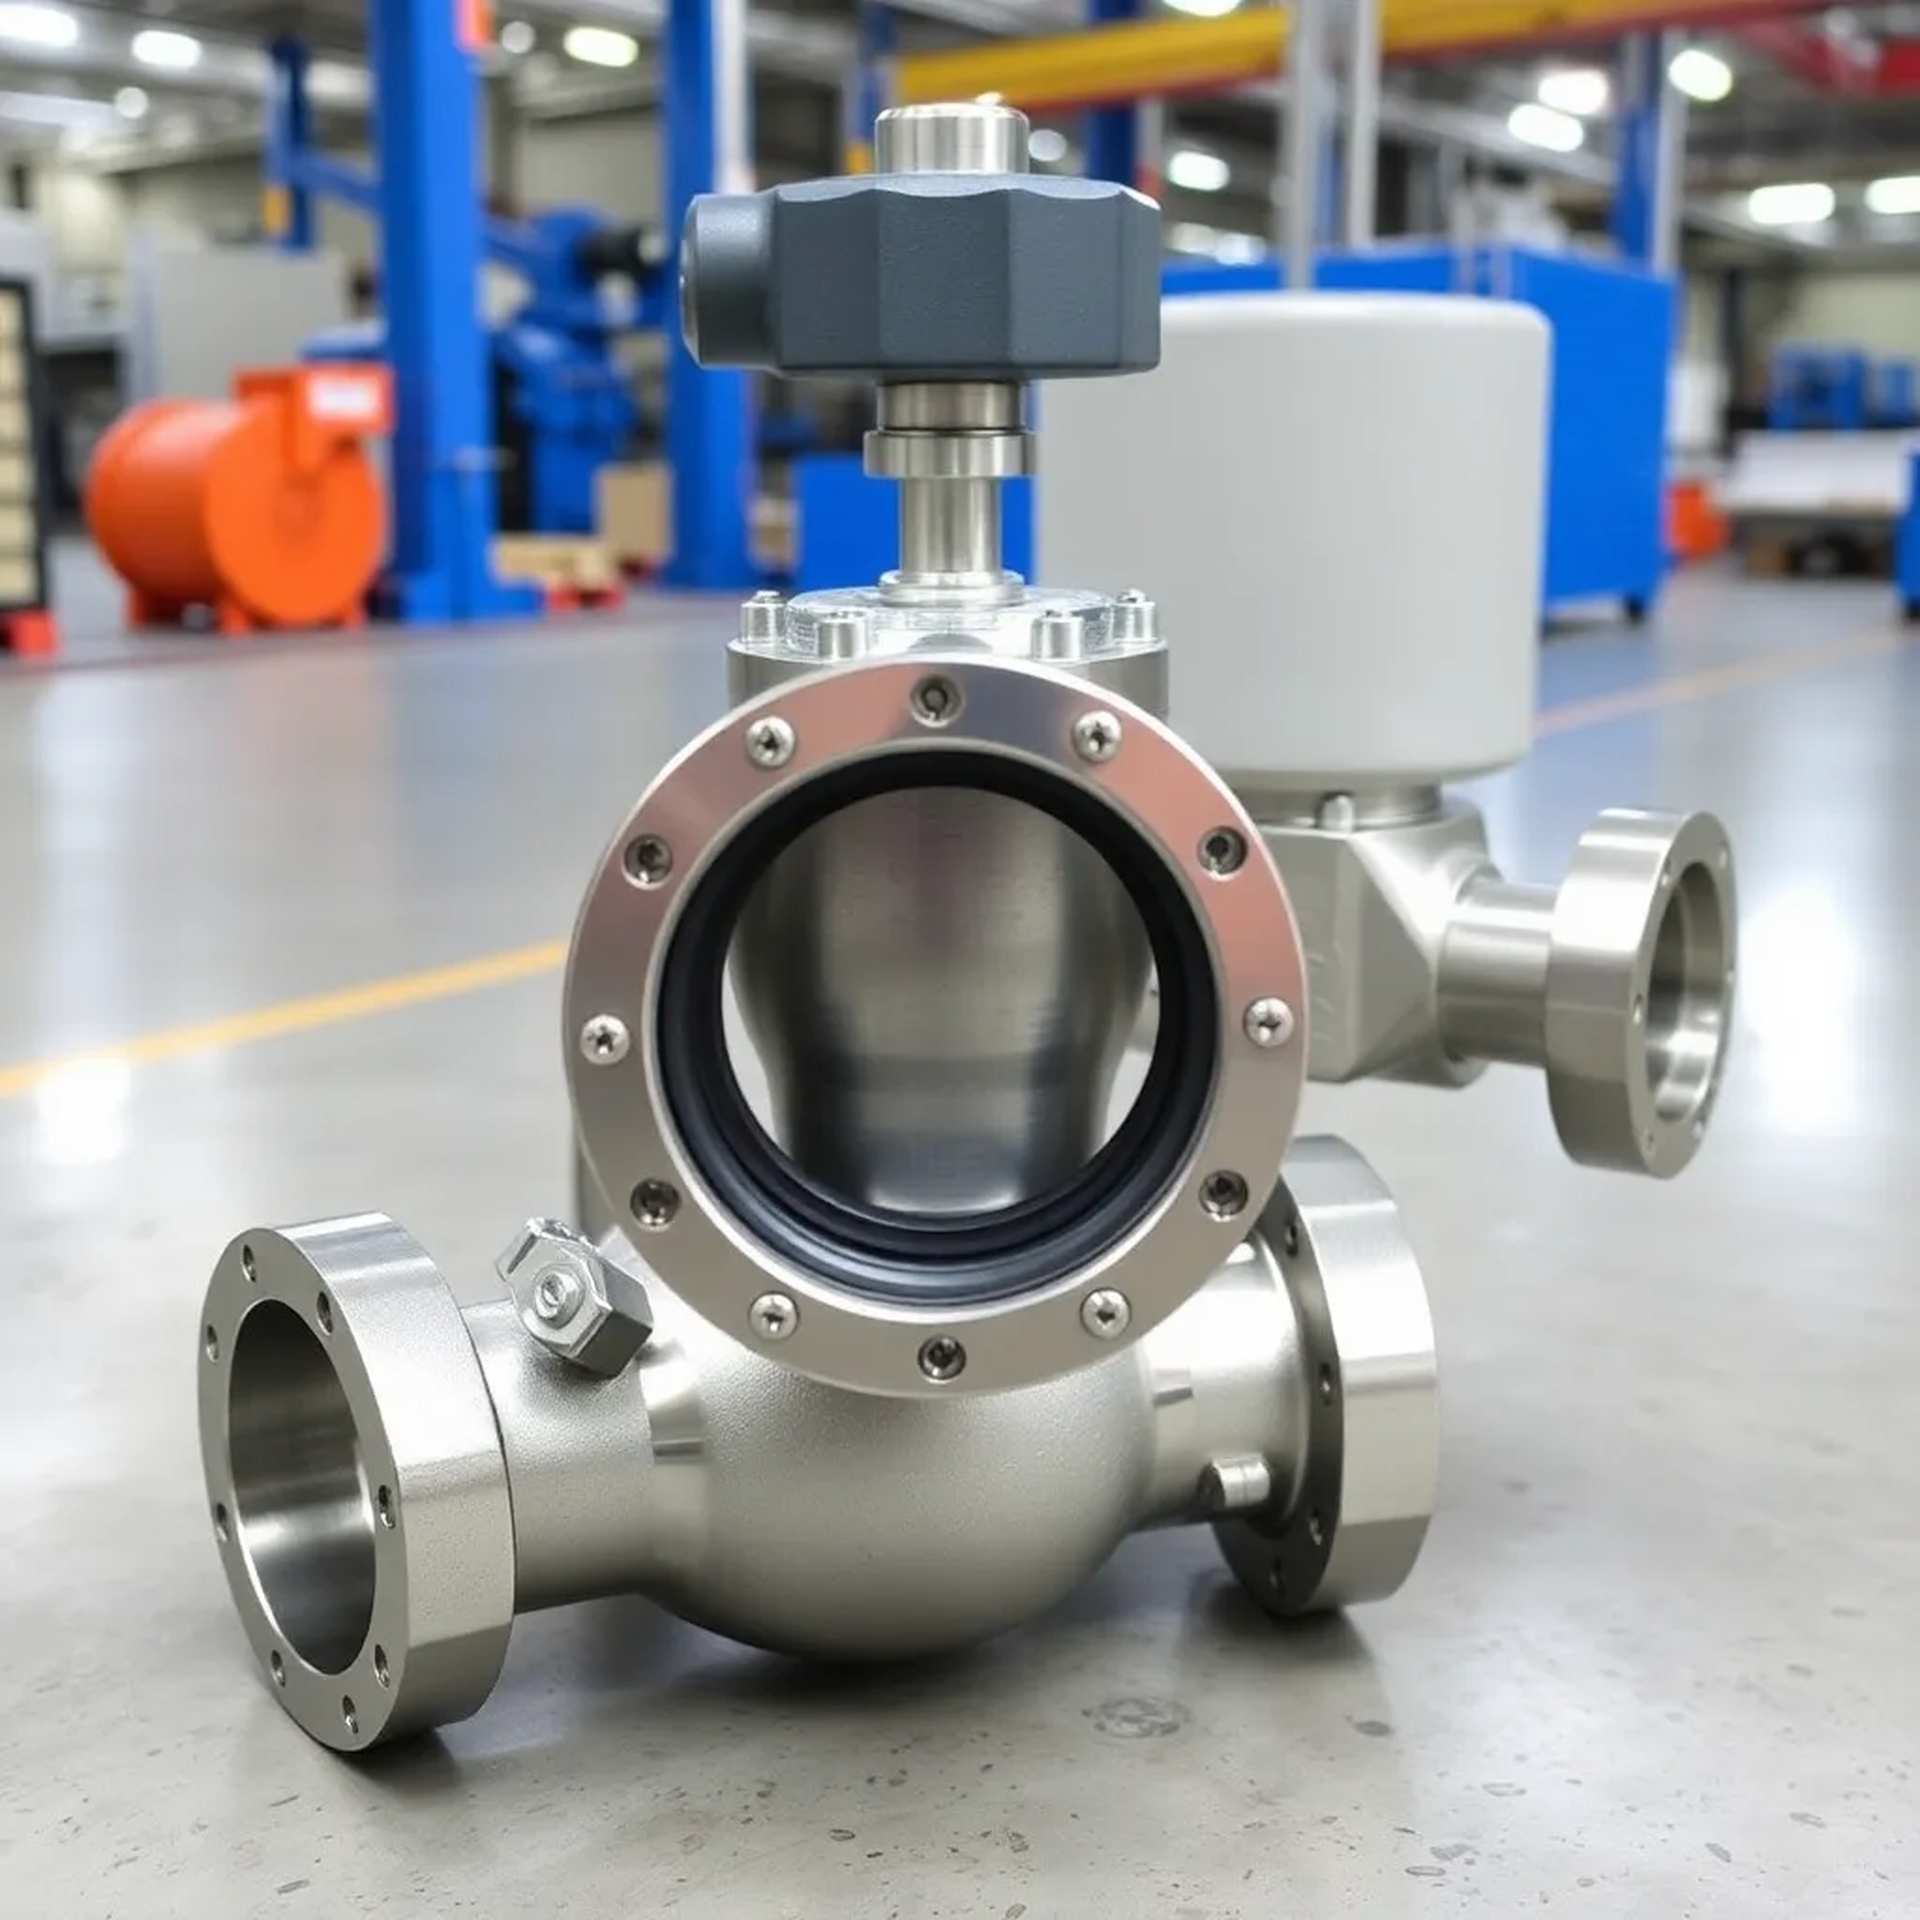
Step 1: Preparation
Shut off the main water supply and drain the existing pipes. Remove the old housing carefully, inspecting the threads for damage. Clean all connection points thoroughly to ensure a proper seal.
Step 2: Thread Preparation
Apply 3-4 wraps of PTFE tape clockwise around the male threads. Ensure the tape is smooth and doesn't overlap excessively, which could cause misalignment.
Step 3: Housing Installation
Hand-tighten the housing onto the pipe threads until resistance is felt. Use the adjustable wrench to turn an additional 1.5 to 2 turns. Do not over-tighten, as this can damage the threads or crack the housing.
Step 4: Alignment Check
Use a spirit level to ensure the housing is properly aligned. The meter face should be easily readable and positioned according to local utility requirements.
Step 5: Pressure Testing
Slowly restore water pressure and check all connections for leaks. If leaks occur, shut off water, drain, and re-apply thread sealant before re-testing.
Published: January 8, 2025 | Category: Maintenance
Conduct visual inspections for signs of corrosion, leaks, or physical damage. Check for moisture around connection points and look for discoloration that might indicate water seepage.
Schedule professional inspection including pressure testing, thread condition assessment, and replacement of worn components. Document all maintenance activities for warranty and compliance purposes.
Regular maintenance can extend housing lifespan by 40-60% and prevent costly emergency repairs.
Published: December 28, 2024 | Category: Technical Specifications
Advantages:
Considerations:
Advantages:
Considerations:
Choose Brass for: High-pressure systems, underground installations, extreme temperature environments, commercial/industrial applications.
Choose Polymer for: Standard residential applications, above-ground installations, budget-conscious projects, corrosive water conditions.
Published: December 20, 2024 | Category: Industry News
The Department of Standards Malaysia has released updated specifications for water meter components, effective March 1, 2025. These standards ensure improved quality, safety, and interoperability across the industry.
All FlowCase Industries housings already meet or exceed the new MS 1314:2025 requirements. Our products have been pre-certified, ensuring seamless compliance for our customers.
Contact our technical team for compliance documentation and certification details.
Published: December 12, 2024 | Category: Installation Guides
Commercial installations require careful planning to ensure compliance with local building codes and utility requirements. Coordinate with water authorities before beginning work.
1. Install and secure mounting brackets or vault
2. Prepare pipe ends with proper threading or flanges
3. Apply appropriate sealant for pipe material type
4. Install housing with proper torque specifications
5. Install meter according to manufacturer instructions
6. Conduct pressure test at 1.5x operating pressure
7. Document installation with photos and specifications
Maintain records including installation date, installer certification, pressure test results, and housing serial numbers for regulatory compliance and warranty purposes.
Published: November 30, 2024 | Category: Technical Specifications
Pressure ratings indicate the maximum continuous operating pressure a housing can safely withstand. Ratings are typically expressed in bar or PSI.
Operating temperature affects material properties and pressure ratings. Most housings are rated for continuous operation between -10°C and 90°C, with specialty options available for extreme conditions.
Always select housings with pressure ratings at least 25% higher than maximum expected operating pressure. This safety margin accounts for pressure surges and thermal expansion.
Brass: Maintains full pressure rating across entire temperature range
Polymer: Pressure rating decreases at elevated temperatures (derating required above 60°C)
Stainless Steel: Highest pressure and temperature capabilities for demanding applications